
From the kitchen of Lynn Salmon-Easter, Reiki Master
This is a recipe from my husband’s grandmother, Gwen, who was Australian. Most of her side dishes had curry in them!
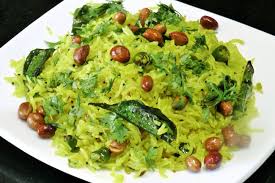
This is a recipe to share. It makes a wonderful dish to take to gatherings, picnics or potlucks. Quick to make and there are never any leftovers.
Makes about 10 servings (1 cup each serving)
Dressing: Place all ingredients into a jar and shake.
"Chewy Bits"
Directions:
This is a recipe to share. It makes a wonderful dish to take to gatherings, picnics or potlucks. Quick to make and there are never any leftovers.
Makes about 10 servings (1 cup each serving)
Dressing: Place all ingredients into a jar and shake.
- 1/2 cup olive oil
- Juice 1 large lemon
- 2 Tbsp fruit chutney or apricot jam
- 1 tsp salt (optional)
- 1 tsp ground black pepper
- 1 tsp curry powder
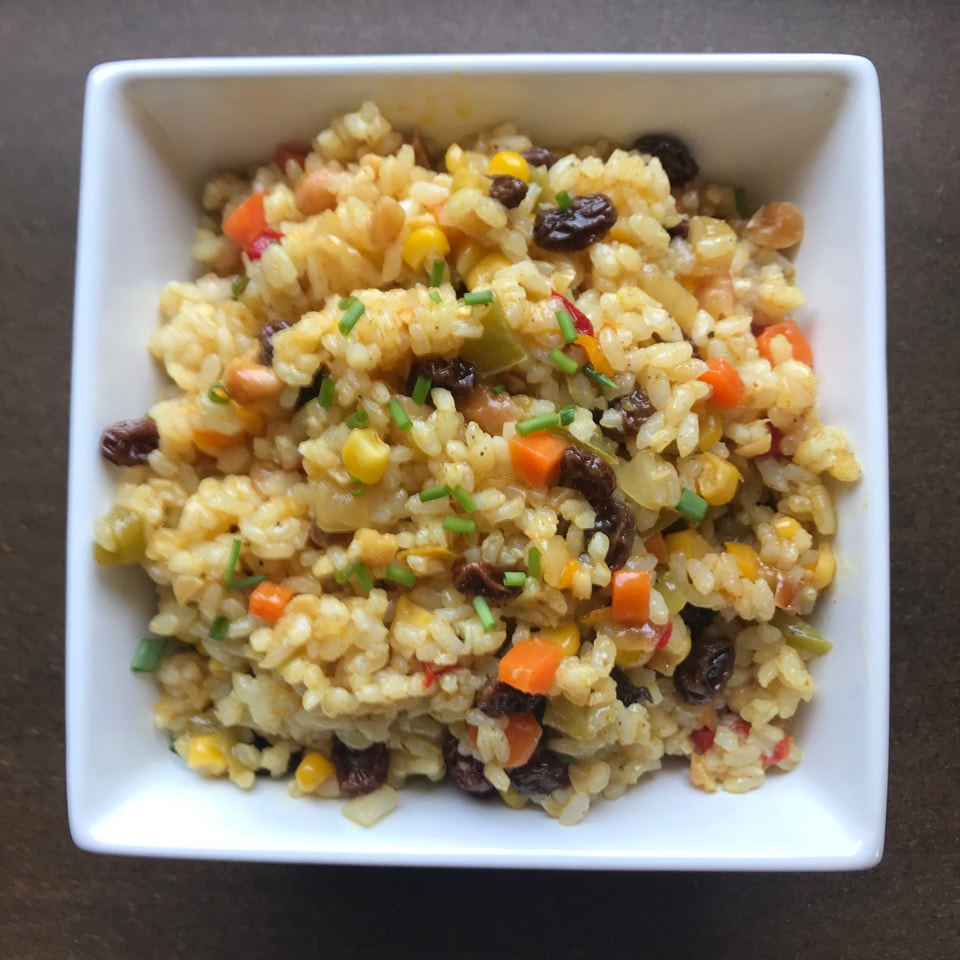
"Chewy Bits"
- 3-4 cups cooked rice
- 1 cup raisins
- 1 cup roasted almonds, cashews, walnuts or cashews (or a mixture)
- 1/2 each of red & green pepper, diced
- 1 large white onion, diced
- 1/2 cup celery or carrot, diced
- 1/2 cup corn kernels
Directions:
- Cook the rice according to its package until it's just tender, drain.
- Add the other ingredients and mix the dressing in until everything is well-coated.
- Let the salad sit for a 1-2 hours or overnight to cool and to allow the flavors to mingle before eating or serving.


 RSS Feed